|
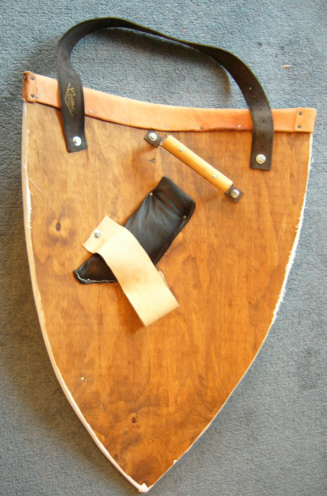
1. Grip (bent iron), forearm pad, forearm strap, and guige added to shield blank made of marine ply.
2. PVA glue used to fill holes in plywood and create a sized surface. 3. Three layers of canvas drill and glue to build up front of shield and provide surface for heraldic arms. 4. PVA glue used to size upper layer prior to painting. 5. Cuir bouillied leather upper rim - stretched over top in front and back and edges rounded; strip of cuir bouilli tacked around rest of rim. This part required assistance (thanks, Ray!) as the leather had to be positioned, stretched, and tacked whilst still pliable. Lesson: Work has to be fast and accurate, so more thought given to shaping the corner cut-outs (on the sides of the top of the rim) in advance would have simplified the process. |
|
|
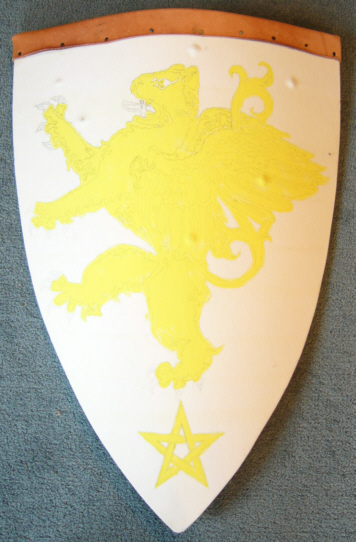
Design is drawn on in pencil and then one coat of yellow ("Or") paint applied. (Did one coat only so could see detailing for painting black later). |
|
|
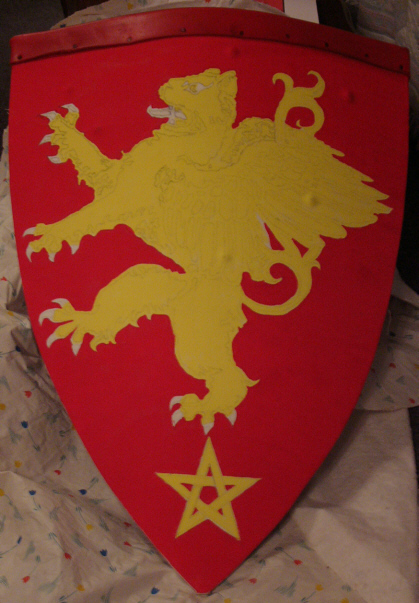
Red ("Gules") background paint is applied to field and cuir bouilli sections; a second coat of yellow paint was able to be applied as pencil marks showing through, then applied a second coat of red. |
|
|
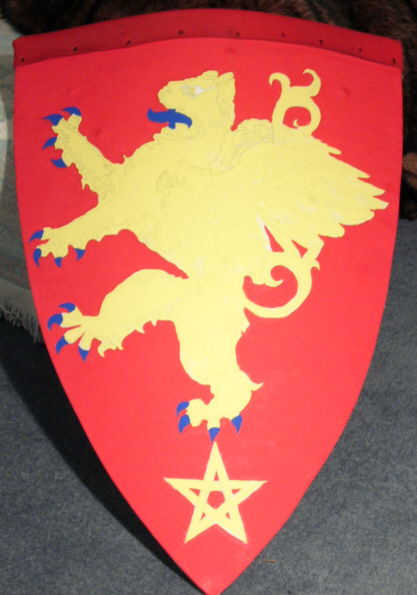
Two coats of blue ("Azure") paint applied to "armed and langued" (claws and tongue). |
|
|
Outlines given two coats of black paint. Eye and fangs touched up with white paint.
|
|
|
Lesson : when designing Coat of Arms think about how many times you have to create it, especially on objects such as a shield which will take damage. Simplicity would have been a smart idea!Note: for those interested my blazon is: "Gules, a winged lioness rampant or, armed and langued azure, balanced upon a pentacle of the second." |

Created by Sue Leader - July 24 2007; last reviewed 14/01/2018.